
For the past several months, I have been renovating my studio. It is in a room that was once used as a tiny kitchen. For years, I made do with what had been there - ugly pea green tiles on the wall and ugly dirty green tiles on the floor. It was hard to feel creative and energized when I spent much of my time there thinking about how much I hated the colors. It didn't help that it was considered the junk room or that I am just not naturally a neat person and I had way too much stuff for the space. One Saturday a friend offered to keep the kids for the afternoon. My husband and I got so giddy with the thought of actually having free time that we launched into tearing down the tiles. What we didn't stop to think about was that we had just two hours and we were embarking on a job that was going to take about a hundred times that! Adding to the challenge was that beyond getting rid of the tiles and the ugly metal cabinets, we weren't really sure what to do with the space. I had visions but the man who had to do the work couldn't quite see them the same way. I think I've watched too many home decorating shows where the designers toss a few ideas at the carpenter who then works his magic and voila, a beautiful room. DH is handy, but not a carpenter by trade. I'm not a professional designer or even a very good amateur one and we're not on a television show. If we were, the project would have been done in an hour instead of the months it has taken us!
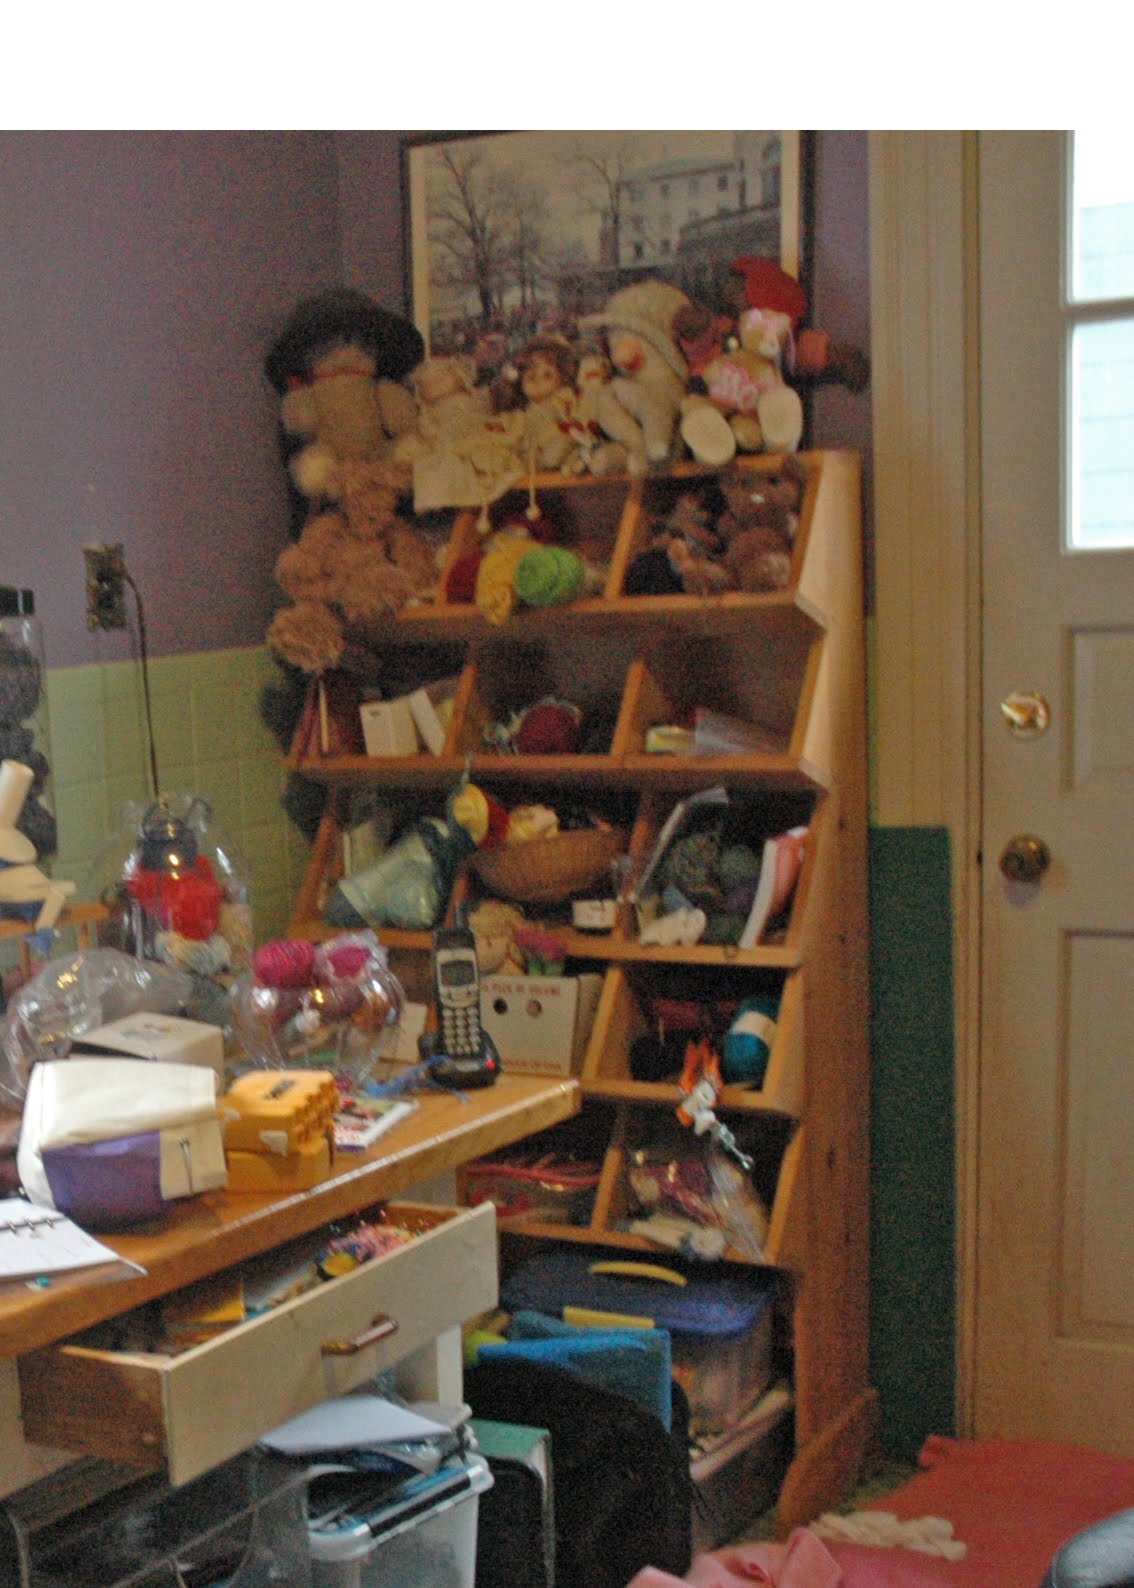
Still, I am inspired by those shows and by all the creative makeovers I see on whipup.net and other people's blogs. So here, finally, is one of my own. This was a garden shelf that we bought at the unfinished furniture store years ago. It sat unfinished because I couldn't figure out what to do with it. I decided to keep it in the room because it's quirky and I need storage. I wanted it to look finished, but I wanted to retain the shabby chic feel. So, I gave it a white wash with a gel stain. This allows the grain of the wood to show through. Then, I took the back off and painted it the color of the wall. To add a little more flare, I used wall stickers of the Eiffel tower and flowers that came with it. Even though I put stuff on the shelves, you can still see the stickers in the behind them. This also gives me an incentive to not let the shelves get junked up!